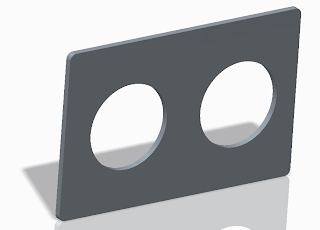
After I had modelled my idea, I drew and modelled it on Creo.
Here are my Creo folders.
I converted these files so that I could used them for the laser machine. I needed 1 back slics, 3 middle slices and 3 front slices ( one of which needed to be out of acylic)
After I had drawn my idea up on Creo, I transfered it into a .DXF file so that I could take it down to the laser machine in order to begin to cut out the layers of wood.
After I had cut out the different layers, I could glue all but the back layer together as I would need to screw this layer to the rest of the product so that the user can get to the circuit and change the batteries.

This shows the external box of the speakers. As you can see the 3 inner layers are a little bit smaller than the front and the back. This is so that the acyrlic strip can fit inbetween.
I then, when the layers were dry, got two strips of acylic and started to strip heat them. The thinking behind two strips were to bend it round one long and one shorter side then join them together when they met. However, this idea was quickly disreguarded as it looked messy and the joins wernt in aesthetical places. Therefore, I decided to get one long strip of acrylic and mark on the places where it needed bending and heat it as one. This worked much better than the previous attempt as the corners were now all rounded.
I then clamped it into place and removed the excess glue and left it to dry over night.
After it had dried, the next stage was to file off any excess parts. I removed the shine on the acrylic and gvae it a matt finish instead then polished it when I had finished. This was because I needed to remove the burnt edges on the wood and couldnt do it without scratching the acylic. However, this problem was quickly over come and the matt finish looks aesthetically pleasing and addes to the retro style of the speakers.


 This shows the inside of the speakers. As you can see there is enough room to house both the speakers, circuit board and battery


No comments:
Post a Comment